Wednesday, January 19, 2011

Things I did Yesterday

Rather than a usual post, I'm going to just tell you all what I did yesterday... mainly because I'm pretty excited about what happened and what I did.

I had some errands to run, and I was also on the look out for some buttons (I need to fix a sweater that I've had for a while, but I don't have enough buttons for it), so I decided to stop by our local SPCA thrift store.  I wasn't really convinced that they'd have what I needed, but it was worth a stop, since I was out anyway.

Artisan Bread in Five Minutes a Day: The Discovery That Revolutionizes Home BakingI should also mention that I've been looking for a 6 quart food storage container, because I want to make Artisan Bread in 5 min.  Since I couldn't find any 6 quart containers in any of the stores near me, I ordered them online.  They also had a deal to include the Danish Dough Whisk for $9.  I decided that $9 was too much to spend on a one-use item, even if I would be using it often.

While I was wandering around at the thrift store, I found their prices were really good.  They have deals everyday, it seems... when I was there, the clothes were buy 1 get 1 free.  I didn't need any clothing, but it was nice to know that I could get really inexpensive clothing that could be altered, if I have the time.  While wandering, I didn't find any buttons... but I did find this:

And the price? $1!  Yup, got myself a really good Danish Dough Whisk for $1!  And when I went to the counter to pay for it, I asked if they had any buttons... the helpful man behind the counter said that I was in luck, because a girl had asked them to save buttons for her, but she hadn't come by to pick them up even after they called her.  So I could have them.  All of them for $10!

I had fun sorting them last night :)
 So, $11 later I'm the proud owner of a Danish Dough Whisk, and a bunch of exciting buttons!

Later in the day, I saw a recipe for Soft Pretzel Bites (from one of the blogs I follow), and I figured I may as well try it out.  I'd also stopped at Trader Joes and picked up some much needed dairy products for baking scones/cinnamon rolls/etc.  So after I got home, I started baking... and kept baking until I had this:

Cinnamon Rolls, Cranberry Scones,and Pretzel bites/rolls
I altered the recipe for the scones a little, I substituted 1/4 cup of vanilla soy protein powder for 1/4 of the whole wheat flour from the original recipe.  So the new measurements are: 1 1/2 cup All purpose flour, 1/4 cup Whole wheat flour, 1/4 cup vanilla Soy protein powder.  I also used whole milk instead of cream.  They taste really good.  Slightly sweet, slightly vanilla, and very delicious.  I originally had a lot more of the soft pretzels, but they got eaten before I had a chance to photograph them... I'll have to post about the pretzel rolls later, since they're a story in themselves.

Also, here's the current progress on the socks (I'll do a full post when they're done):
2 socks at once! No second sock syndrome for me!

Monday, January 17, 2011

Chicken Pot Pie

The other day I went ahead and bought a 25lbs bag of flour at Costco. I also bought some boneless skinless chicken thighs. I had been buying chicken breasts, but the thighs were so much less expensive... and then I cooked with them and discovered how much more flavor the thighs had, I'm very pleased that I bought them.

It's cold and damp where I am right now, and it felt about the right time for some good old fashioned comfort food.

I've never made Chicken Pot Pie before, and so I set out to make one. I started with the 1896 Boston Cooking-School Cookbook, the plain paste recipe, to be specific.  Then I just sort of thought about what is normally in chicken pot pie and went from there.

***

The Lazy Wife's Chicken Pot Pie

Pie Crust:
1 1/2 cup flour
1/2 cup butter, cut in cubes
2 Tbsp vodka
2 Tbsp cold water

My crust ended up being a little thin, but very flaky and delicious, next time I'd probably double the pastry recipe, then again, I did end up making two pies. 

Put flour in a medium bowl and cut in the butter cubes.  Add vodka and water until you can form a smooth ball (sometimes it requires a little more vodka or water if your flour is dry).  Place the smooth ball in plastic wrap and chill for about 15min.  Preheat the oven to 350 degrees, roll out the chilled dough on a lightly floured surface, and place in pie pan.  Cover with wax paper and pie weights (I use beans).  Prebake for about 10 min with the weights, then remove them and bake another 5-10min until it just starts to get a light brown color.  Remove from oven and fill with chicken filling.
 
Pie filling:
1-2 Tbsp olive oil
1 onion, chopped
8-10 cloves garlic, minced
3 boneless skinless chicken thighs, cubed
1/2 cup frozen corn
1/2 cup frozen peas
1/2 cup mixed vegetables (I like the "hodgepodge"  mix from Trader Joes)
1 carrot, chopped
1 can condensed potato soup
1 Tbsp Herbed Poultry (from my spice rack, I think it's Sage, Rosemary, Thyme and Marjoram)
1 tsp Worcestershire sauce
1 Tbsp flour
1 Tbsp butter
Salt & Pepper
In a medium pot, saute the onion and garlic in olive oil, on low heat, until soft.  Add herbs, salt and pepper (about 1 tsp of each), add chicken and continue cooking, turn up to medium heat, stirring occasionally.  When the chicken is cooked, add vegetables and soup (as well as 1 can of water).  Stir until all ingredients are combined.  Add flour and butter and stir until incorporated.  Cook down to thicken.

When the pie crusts are ready (prebaked/just starting to brown, you can use scraps of pie crust to put on top for a cute decoration, bake them with the crusts but on a separate baking sheet) add the chicken filling to the pie shells and bake at 350 for 20min until the crusts are brown and the filling is bubbling.

Take out of oven and serve.

***

Well, that's about it for the recipe.  It tastes pretty darn awesome (the Husband even went back for seconds, despite the pie containing peas).  Chicken breast would obviously work as well, but I really do think the thighs have better flavor.

Also, I'm working on a pair of socks now... but I'll post about those later, when I have pictures and such.  That's all for now!

Saturday, January 8, 2011

Hummus

My husband was recently bothering me because I had not made hummus last semester.  So, by request, I made hummus today.

Hummus is a Middle Eastern staple food.  When eaten with bread it makes a complete protein, which is awesome especially if you're vegetarian or vegan (though understandably less awesome if you suffer from Celiac disease).  Hummus is actually pretty easy to make.  It relies heavily on taste... so be sure you're tasting as you go.  So, here's my recipe, feel free to play with it and adjust as you like.

***


Hummus, ala the Lazy Wife

1 lb bag dried chickpeas (you can, of course, use canned chickpeas, dried are sometimes cheaper)
Water
1 head of Garlic, minced
The juice of 2 Lemons
1/3 - 1/2 cup Tahini (Sesame seed paste)
1/2 cup Olive Oil
Salt to taste
Optional Hand full of Sun Dried Tomato, Red Pepper, Paprika, Basil, Avocado, Chipotle pepper, etc.

For the Hummus purists (No optional extras):
Soak the dry chickpeas in water overnight.  Drain the old water and cover the now plumped peas with water by about an inch over the level of the peas... it's not important to get the water quantity exact for these steps, just to make sure the peas absorb as much water as they need to become soft.  Bring the peas to a boil, cover and reduce heat to simmer.

My chickpeas have always boil over... but uncovered they smell funny, so choose your poison.
Lower: cooked peas, top left: pea skins, top right: naked peas

Once the chickpeas are soft (30min - 2 hours). It really depends on how much attention I'm paying... when they're soft to the touch (squish one between your fingers after letting it cool and see if it mashes easily) turn off the heat and let them cool.

Hummus with Sun Dried Tomato and dried red pepper
Hummus with olive oil and paprika
When you can handle them, strain the chickpeas and prepare for the "fun" part.  Now, some people just leave them in water and roll them around in their fingers to remove the skins, because the skins, for the most part, rise to the top and can be skimmed off.  I, however, am a perfectionist.  I sit down and watch something while I squeeze the skin off of each and every pea.  My other reason for this is because I do not own a food processor, and mash the peas with a potato masher, and I get a better consistency when I remove every skin.  If you don't care about texture or are blessed with a food processor, then go ahead and remove as much of the skins in whatever way you like.

After removing all the skins, put the peas in a medium to large size bowl.  Add the garlic, lemon juice, tahini, olive oil and some salt, and mash until you get a nice smooth paste.

Some of the ingredient amounts can vary depending on how moist or dry your chickpeas are, and how much you like or dislike certain flavors.  I happen to LOVE garlic, so I used a whole head... just enough to almost give me heartburn.  If you don't like garlic so much, then use 1-5 cloves or whatever you like.

If you find the mashing is not giving you a nice smooth paste, then add a little more tahini, olive oil or lemon juice, depending also on what flavor you think is lacking.  You do have to play with it a little, to get the right taste for your pallet.

If you're feeling a little more adventurous,  you can experiment a little more.

Make the original recipe, but at the end stir in some chopped up sun dried tomato, or some red pepper, or avocado... I know at the farmer's market I used to go to, there was a guy that had all kinds of interesting flavors of hummus.

In most of the Middle Eastern restaurants I've been to, they serve hummus with olive oil and paprika on it.

If you can't find tahini (which I couldn't for a while where I am) I substituted smooth peanut butter!  I know!  Sounds totally crazy, right?!  Well, I did, but I used a little less peanut butter and a little more olive oil and lemon juice, and lots of garlic.  Once it sat for a day in the refrigerator, it tasted pretty much the same as regular hummus, with maybe a little more of a nutty aftertaste.

***

The historical origins of Hummus are unknown.  The earliest verified description of hummus comes from 18th century Damascus.  There were probably similar recipes before the 18th century, and in fact, the Egyptians ate a similar dish that used vinegar instead of lemon juice (which was the ingredient that arrived in the middle east later than all the others).  But it is still unknown where or when hummus, as we know it today, was first made.

Chickpeas are GREAT! Chickpeas are a good source of zinc, folate, and protein.  They have a lot of dietary fiber and are a good source of carbohydrates (especially for people that are insulin sensitive/diabetics).  They also contain phosphorus, magnesium and iron.

Citations: Wikipedia: Hummus, Chickpea

Sunday, December 5, 2010

Cinnamon Rolls

I woke up one day earlier this year with a craving for Cinnamon Rolls.  I tried to ignore it for as long as I could... but then I gave in and looked up a recipe and baked these irresistibly delicious rolls.

I do have to say, also, that I LOVE Paula Deen and her appreciation for butter.

***

Cinnamon Rolls
Servings: 12-15 rolls (depending on how thin you cut them) 
Prep Time: about 1 hour 20 min, Cook Time: 30 min
Ingredients:

Dough:
1/4 ounce package yeast
1/2 cup water
1/4 cup sugar
1/2 cup milk
1/3 cup butter
1 tsp. salt
1 egg
3 1/2 - 4 cups flour

Filling: 
1/3 cup melted butter, plus more for the pan
1/4 cup white sugar
1/2 cup brown sugar
2-3 tablespoons ground cinnamon
1/4 cup chopped walnuts, or pecans (optional)(I've also crushed some sliced almonds and used those)

Glaze:
4 tablespoons butter
2 cups powdered sugar
1-2 teaspoon vanilla
3-6 tablespoons of hot water (enough to make it smooth)

Directions:
In a large bowl, mix yeast, about two cups of flour, sugar and salt.  In a mircowave safe measuring cup, mix water, milk and butter, heat until butter is just melted, not until very hot.  Add liquid mixture to large bowl, add egg and mix until smooth.  Add about two cups more of flour and mix until the dough comes together and is easy to handle.  Gently knead dough on lightly floured surface (or in the bowl), the more you knead the tougher the dough will get, so DON'T over knead, just enough to incorporate everything plus a little.  Place in well-greased bowl (or keep in the bowl you were using, I don't grease mine) and let rise until doubled, usually 1 - 1 1/2 hours. I usually cover mine with a damp cloth and put it in a barely warm oven.

When doubled, punch down dough.  Roll out on flour surface into a 15x9 inch rectangle.  Spread melted butter all over dough, I softened my butter and spread it out leaving about a 1-2" bar across the top of my rectangle free from butter.  Mix sugar, cinnamon and optional walnuts or pecans and sprinkle over buttered dough.

Beginning at 15 inch side role up dough and pinch edge together to seal.  Cut into 12-15 slices; thin, serrated knives work well.  Coat bottom of baking pan with butter and sprinkle with sugar.


Place cinnamon roll slices close together in the pan and let rise until dough is doubled, about 45 minutes.  Again, I like putting the pan in a barely warm oven with a dish of hot water underneath, because I think it makes them more moist.

Bake (with a dish of water underneath) at 350 degrees for about 25-30 minutes or until nicely browned.


Once rolls are done baking, mix melted butter, powdered sugar, and vanilla.  Add hot water 1 tablespoon at a time until the glaze reaches desired consistency.  Spread over slightly cooled rolls.  Serve warm.


Based on Paula Deen's Recipe with my own additional suggestions.

***

Cinnamon is a spice obtained from the inner bark of several trees from the genus Cinnamomum, which can be used in both sweet and savory foods. Cinnamon trees are native to South East Asia. It was imported to Egypt as early as 2000 BC.

The Old Testament makes specific mention of the spice many times: first when Moses is commanded to use both sweet cinnamon and cassia in the holy anointing oil; in Proverbs where the lover's bed is perfumed with myrrh, aloes, and cinnamon.  In Song of Solomon, song describing the beauty of his beloved, cinnamon scents her garments like the smell of Lebanon.

It was so highly prized among ancient nations that it was regarded as a gift fit for monarchs and even for a god: records show that gifts of cinnamon and cassia were brought to the temple of Apollo at Miletus.  It was too expensive to be commonly used on funeral pyres in Rome, but the Emperor Nero is said to have burned a year's worth of the city's supply at the funeral for his wife Poppaea Sabina in A.D. 65.

Through the Middle Ages, the source of cinnamon was a mystery to the Western world.  Sieur de Joinville accompanied his king to Egypt during the crusades  in 1248, and reported that cinnamon was fished up in nets at the source of the Nile out at the edge of the world.  In Herodotus and other authors, Arabia was the source of cinnamon: giant Cinnamon birds collected the cinnamon sticks from an unknown land where the cinnamon trees grew and used them to construct their nests; the Arabs employed a trick to obtain the sticks.  This story was current as late as 1310, although in the first century, Pliny the Elder had written that the traders had made this up in order to charge more.

Portuguese traders finally landed in Ceylon (Sri Lanka) at the beginning of the 1500's and restructured the traditional production and management of cinnamon by the Sinhalese, who later held the monopoly for cinnamon in Ceylon. The Portuguese established a fort on the island in 1518 and protected their own monopoly for over a hundred years.

Dutch traders finally dislodged the Portuguese in 1638.  The Dutch East India Company continued to overhaul the methods of harvesting in the wild and eventually began to cultivate its own trees.

The British took control of the island from the Dutch in 1796. However, the importance of the monopoly of Ceylon was already declining, as cultivation of the cinnamon tree spread to other areas, and coffee, tea, sugar and chocolate were becoming more popular than traditional spices.

Some interesting Health Benefits of Cinnamon:
  • Just 1/2 teaspoon of cinnamon per day can lower LDL cholesterol.
  • Cinnamon may have a regulatory effect on blood sugar, making it especially beneficial for people with diabetes. 
  • Cinnamon has shown an amazing ability to stop medication-resistant yeast infections.
  • Cinnamon has been shown to reduce the proliferation of leukemia and lymphoma cancer cells.
  • It has an anti-clotting effect on the blood.
  • Patients given half a teaspoon of cinnamon powder combined with one tablespoon of honey every morning before breakfast had significant relief in arthritis pain after one week and could walk without pain within one month.
  • When added to food, it inhibits bacterial growth and food spoilage, making it a natural food preservative.
  • Smelling cinnamon can boost cognitive function and memory.
  • Cinnamon fights the E. coli bacteria in unpasteurized juices.
  • Cinnamon is a great source of manganese, fiber, iron, and calcium.

(Citations: Paula Deen's Website, Wikipedia: Cinnamon, 10 Health Benefits of Cinnamon)


Update: This is what I found on the Husband's plate after he ate THREE cinnamon rolls:


They are obviously Husband approved.

Saturday, December 4, 2010

The Real Butter Beer

The second to the last Harry Potter movie came out not too long ago.  I was going to post this then, but I forgot for a while... so, without further ado:  Butter Beer

The Unofficial Harry Potter Cookbook: From Cauldron Cakes to Knickerbocker Glory--More Than 150 Magical Recipes for Muggles and WizardsIf you want more Harry Potter recipes, you can check out this book (but it's mostly made for young adults and will not contain my recipe for Butter Beer, because I didn't write the book). Also, I don't actually have this book, but it looked like it might be fun.
I started researching Butter Beer after I first read about it in the Harry Potter books.  According to Mugglenet, this is the recipe for Butter Beer:
Ingredients:
1 cup (8 oz) club soda or cream soda
½ cup (4 oz) butterscotch syrup (ice cream topping)
½ tablespoon butter

Directions:
Step 1: Measure butterscotch and butter into a 2 cup (16 oz) glass. Microwave on high for 1 to 1½ minutes, or until syrup is bubbly and butter is completely incorporated.
Step 2: Stir and cool for 30 seconds, then slowly mix in club soda. Mixture will fizz quite a bit.
Step 3: Serve in two coffee mugs or small glasses

This sounds disgusting to me.  I will admit that I haven't tried it.  But I can imagine it.  Maybe for some people it would taste good.  And that's fine, you go ahead and try it, and I'll believe you if you say you liked it.

Also, I know (from reading the Harry Potter books) that Butter Beer is supposed to "warm you up" because it has ALCOHOL.

In the UK, underage drinking does not get quite the same reaction as it does here in he US.  In much of Europe, adults will allow their children a glass of wine with dinner, it's not a big deal.  In some ways, I agree with this method, because it allows the parents to have some influence on their children's first experiences with alcohol.  And really, who would you rather have your kids learning from? You? Or their friends?  I don't have any problem with people disagreeing with me about this...

I also have no problem with people that want a non-alcoholic version because they don't drink.  That's totally fine, you just can't have my Butter Beer, and I'm sorry for that.

I enjoyed Harry Potter.  I enjoyed the books and the movies (though I did want to kill Harry in the 5th book, but I'm not going to talk about that).  Once I knew about Butter Beer, I tried to think how it would taste.  I thought about what might be in it.  But I didn't ultimately have a break through until I read this: Bacon Vodka.

Now, I know you're wondering: "How did you get a break through in making authentic Butter Beer by reading about Bacon Vodka?"  Well, I'll tell you.

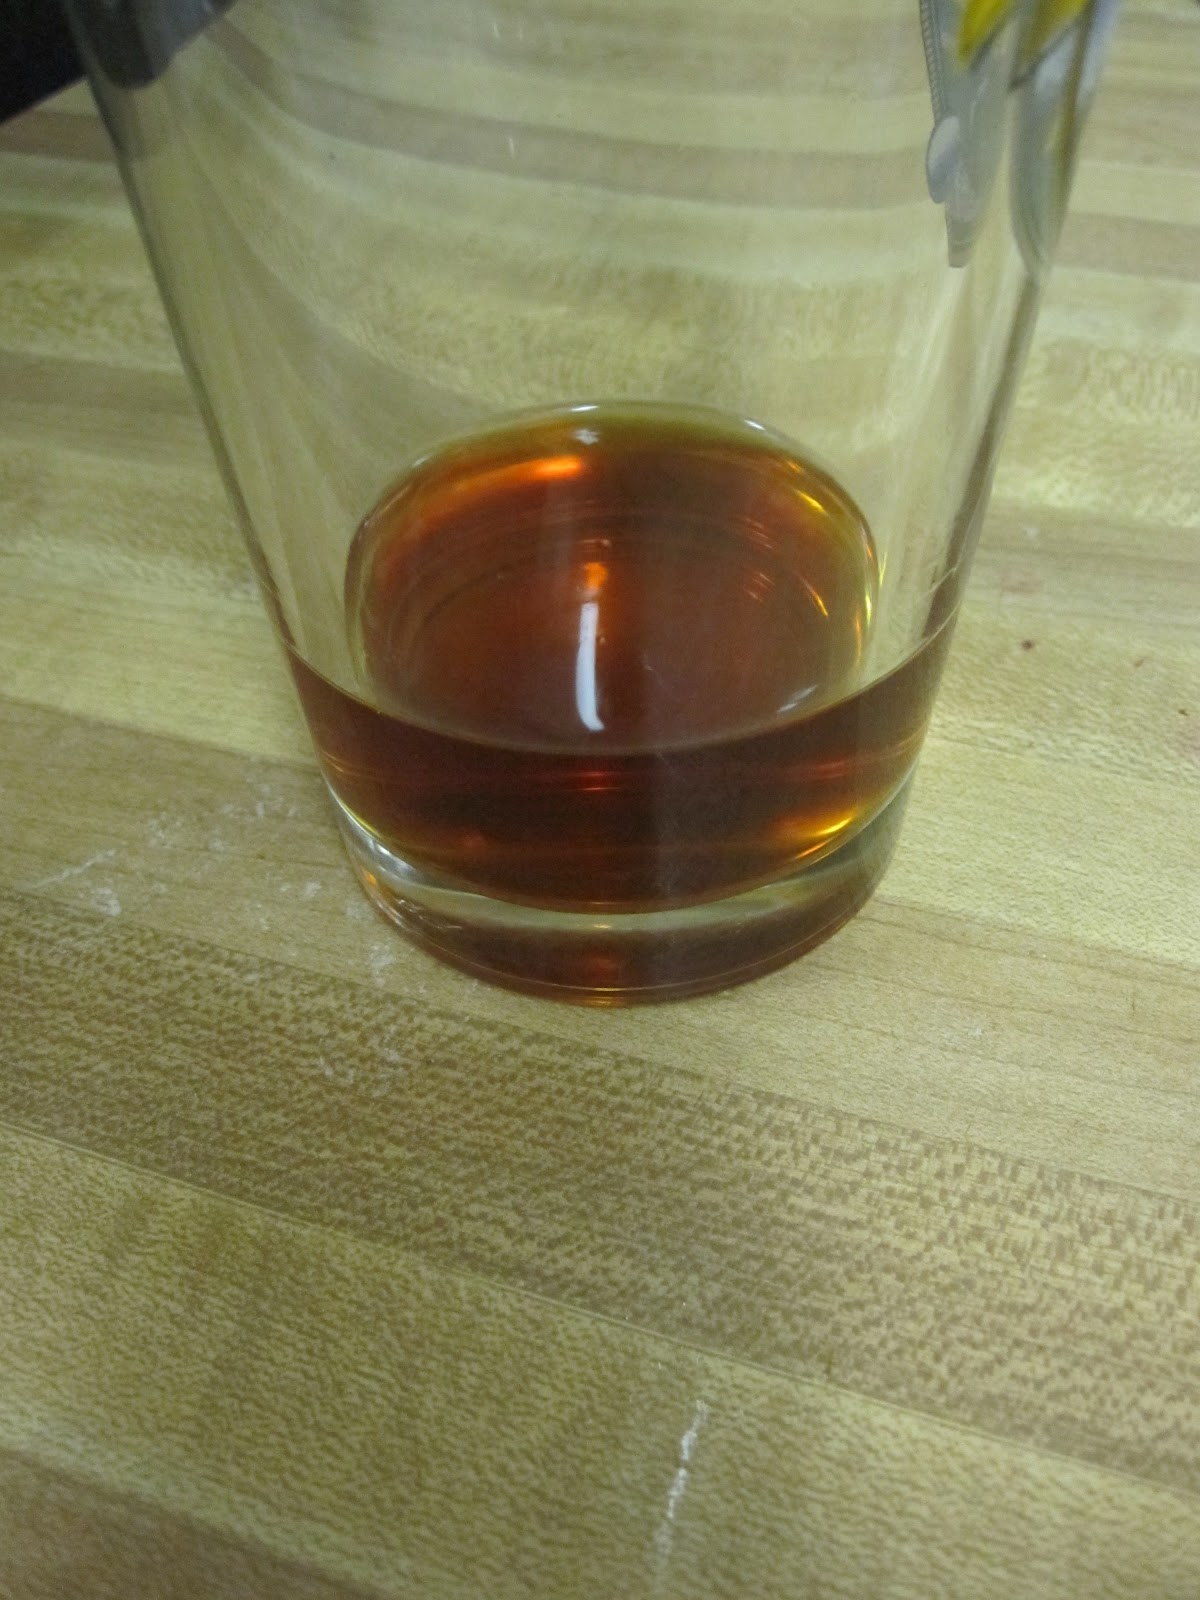
At about the same time, a friend mentioned scotch and cloves in a facebook post, which gave me the idea of combining the two because the Bacon Vodka concept was still fresh in my memory.  I went to the store and bought a bottle of whiskey (cheap stuff because I am living on a tight budget).  I added spices I had in my cupboard and let it sit in a jar for several weeks.  I had vaguely forgotten about it until I remembered that Harry Potter was coming out soon and I remembered my ideas about Butter Beer.  I bought some Butterscotch Schnapps and A&W vanilla cream soda.  I added  the Butterscotch Schnapps to the spiced whiskey and then two tablespoons of my spiced butterscotchy-whiskey to a glass and poured in the cream soda.

It was everything I had ever hoped.  It was delicious.  So for the sake of humanity and all that is delicious, here is the recipe.

***

To make spiced Whiskey:
1 bottle whiskey
3-5 cinnamon sticks
20-25 whole cloves
1/4-1/2 tsp grated nutmeg (or about of quarter to a half of a whole nutmeg)
1 index finger size piece of ginger (or about 1 tsp ground ginger)

Mix the ingredients into the whiskey (I put it all in the bottle, since I wanted to make a lot of spiced whiskey).  Put in a cool dark place for several (about 6) weeks, until it gets very dark brown.  You can technically leave it for longer than six weeks.  Then strain out the sediment from the liquid.  Or you can just strain it whenever you want to make butter beer and leave the cinnamon sticks, cloves, etc until you get to the bottom of the bottle.

***
To make Butter Beer:
1-1 1/2 part Spiced Whiskey
1 1/2-2 parts Butterscotch Schnapps
2-3 Tbsp of the above mixture
1 12-oz can of Vanilla Cream soda


Mix the whiskey and schnapps together, then put 2-3 TBSp of that mixture in the bottom of a cup, pour in the cream soda  and mix well with a spoon.  The exact amounts are somewhat based on your individual taste.  If you like things sweeter, then more schnapps and less whiskey.  Otherwise, vice versa.  You can chill the ingredients first, or leave them at room temperature.  Also, for a creamier option, put 1 scoop of vanilla ice cream in before you add the other ingredients to the cup... it's a really delicious butter beer float!

***

Well, there you have it.  Now you can enjoy a delicious drink.  Well, as long as you are ok drinking alcohol, and want to wait several weeks to drink it.  But that's not my fault.  If you were here visiting me, you would be able to taste a delicious drink.  So it's your own fault for not visiting me, obviously.

I'll just go ahead and put it out there: If you visit me at my apartment, I will give you Butter Beer.